Tag Archives: sundried tomato

Gluten-Free Vegan Pumpkin, Sundried Tomato Bread!

I’ve been working on my baking with encouragement and inspiration from Somer at VegedOut and Annie of An Unrefined Vegan. These two ladies are ace bakers and manage to survive without eggs, milk and sometimes even wheat. Pastries are a little easier since lower protein flours have a good texture for cakes and cookies, but not bread. Bread is the one thing we can’t reliably get that’s gluten-free, vegan and tasty. Usually commercially available breads fit one or two of those three criteria. Therein lies my quest.

My early attempts at gluten-free vegan bread were unreliable and didn’t always rise properly so things have come up a few notches since then.

One of the big things was getting a stand mixer with a dough hook. I can knead bread myself, but this makes mixing much more consistent. I got a cheap used $55 3.5 quart stand mixer. I’ll probably get something nicer when this one goes, but for now it’s perfect for experimenting.

The biggest issues I find with gluten-free vegan bread is that it’s usually dry, crumbly and/or dense. I’m still struggling with these issues, but things are improving slowly but surely.

My ever evolving bread recipe is currently as follows.

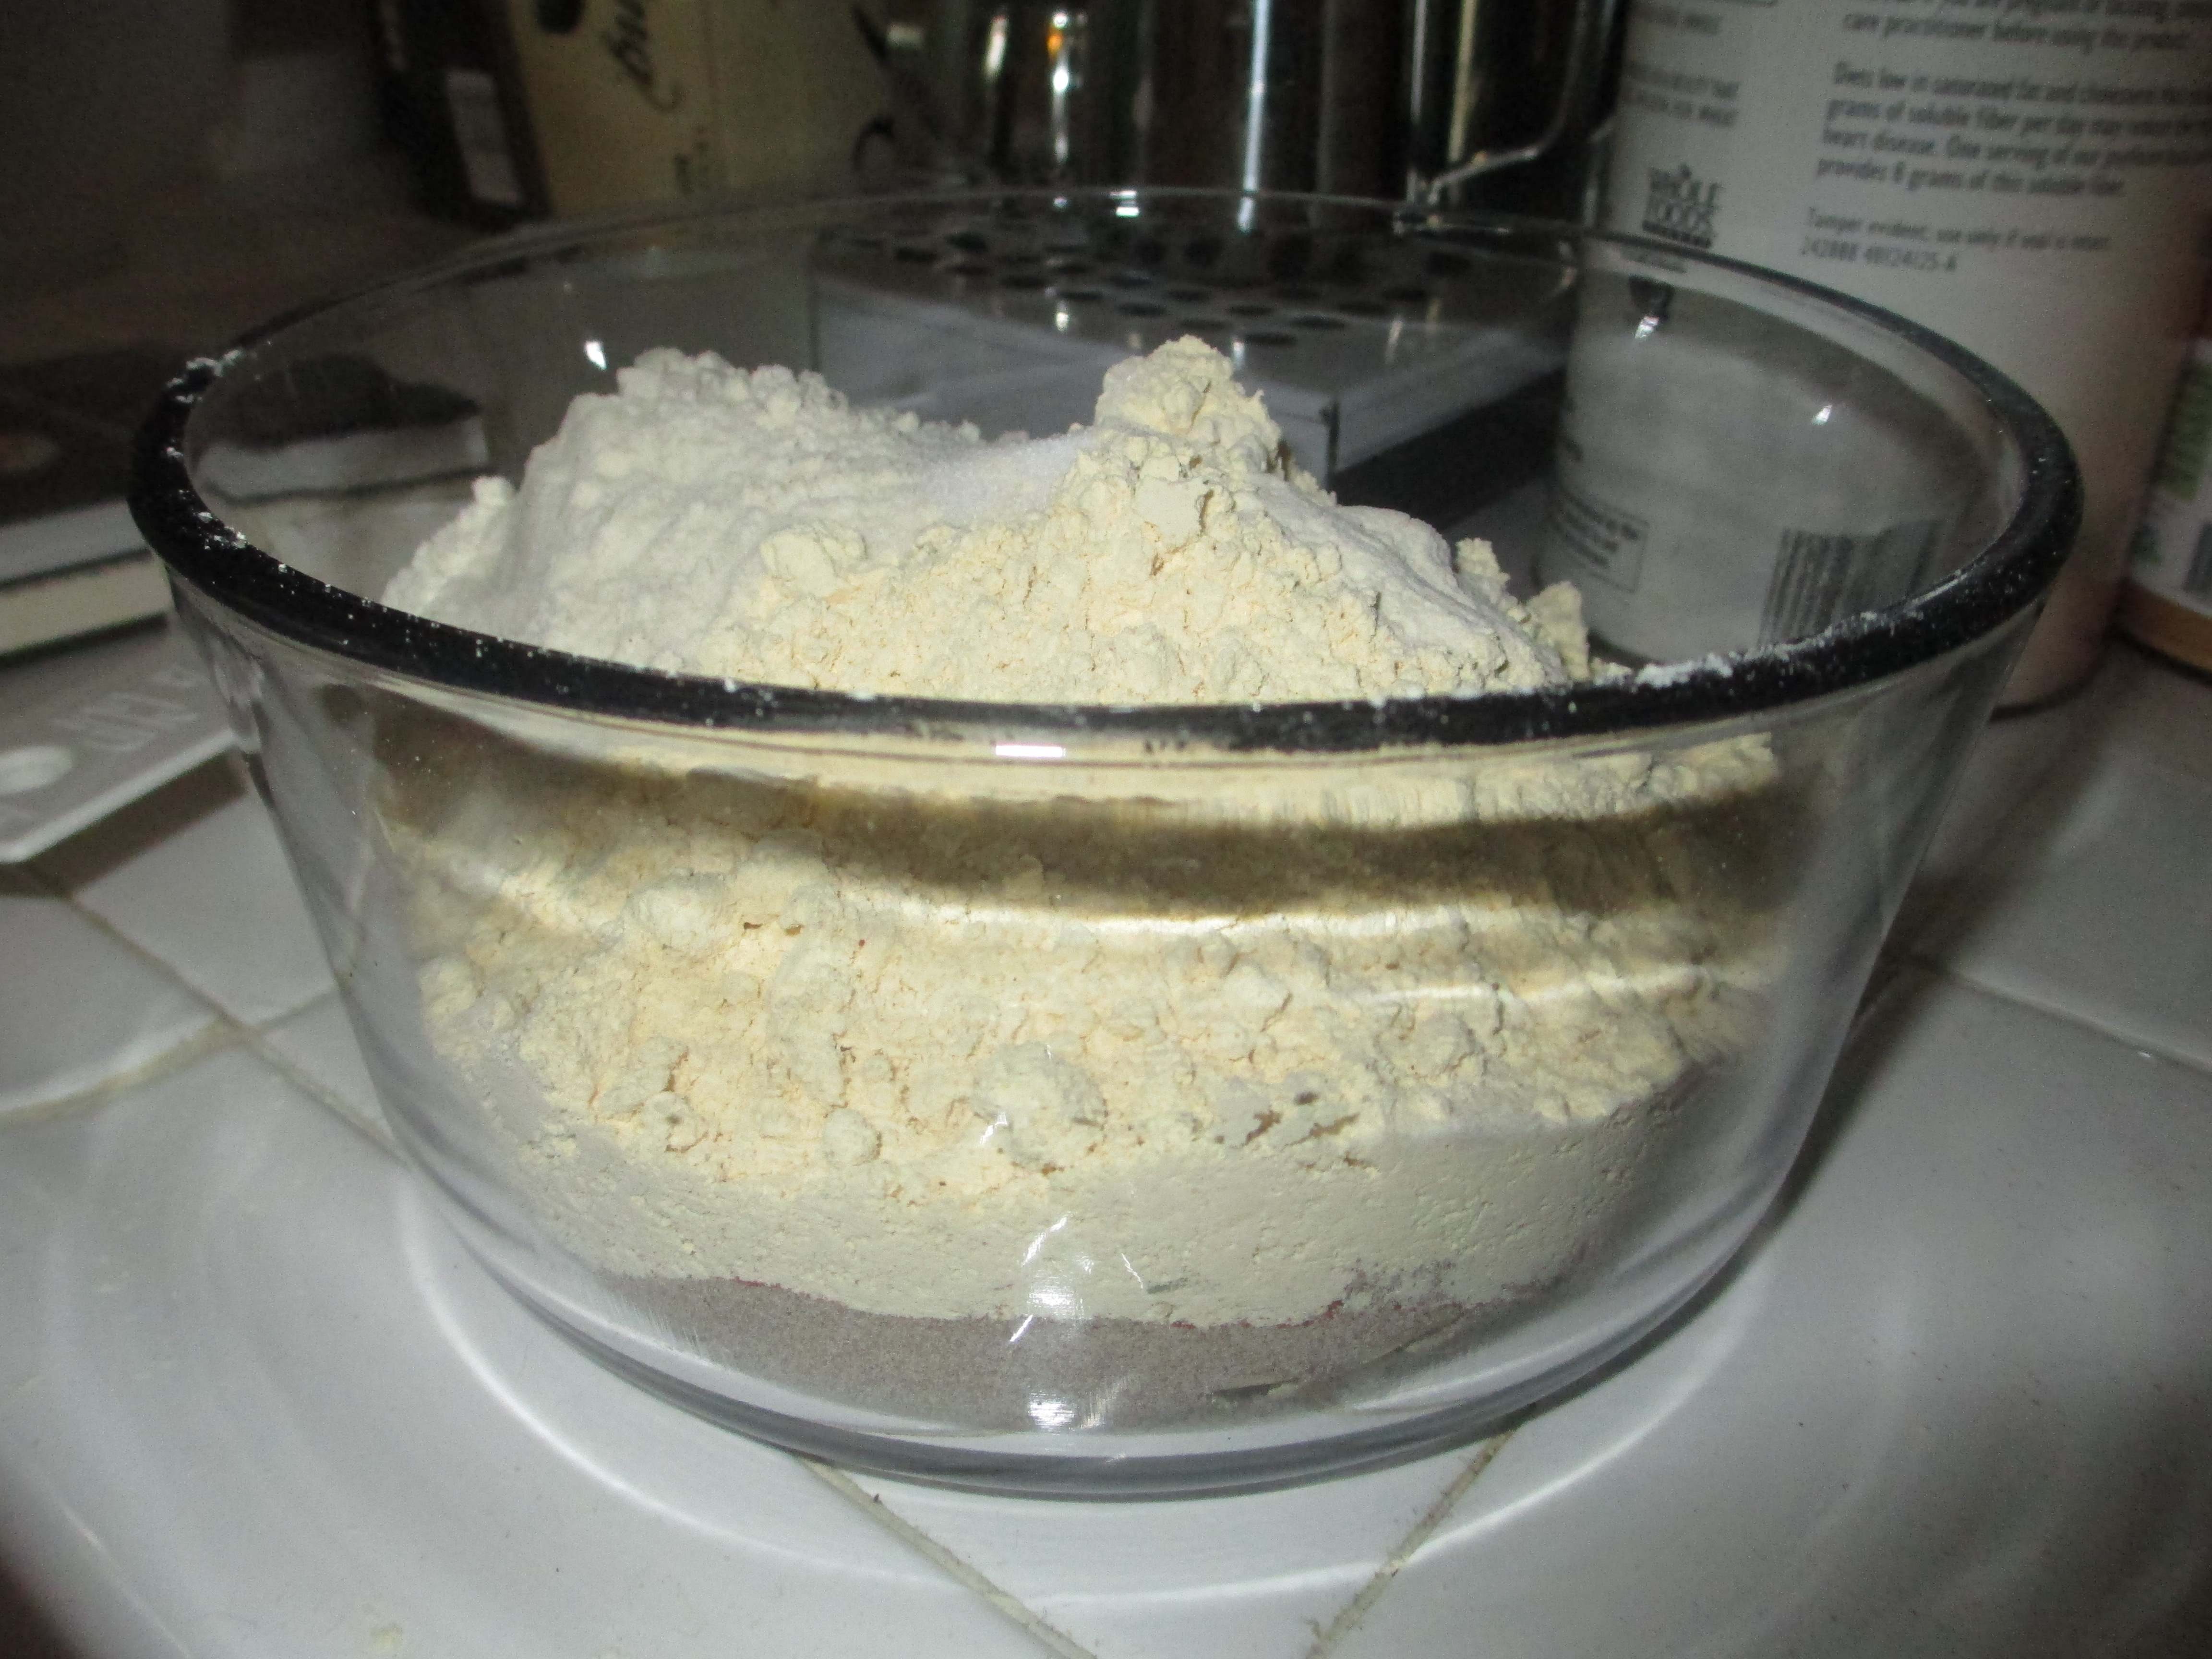
1 cup garbanzo flour

1 cup brown rice flour

1 cup teff flour

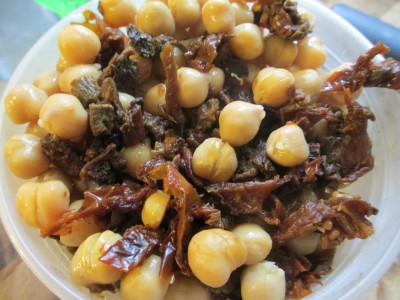
1/2 cup chopped sundried tomato

1/2 cup chopped nuts, sunflower seeds or pumpkin pits (shelled)

1 tsp herbes de provence

1 tsp salt

1 tsp xanthan gum

1 tsp yeast (or one packet)

1/4 cup flax meal

1 cup water, warmed slightly in the microwave

1/4 cup olive oil

1/4 cup maple syrup

1/3 cup tinned unsweetened pumpkin

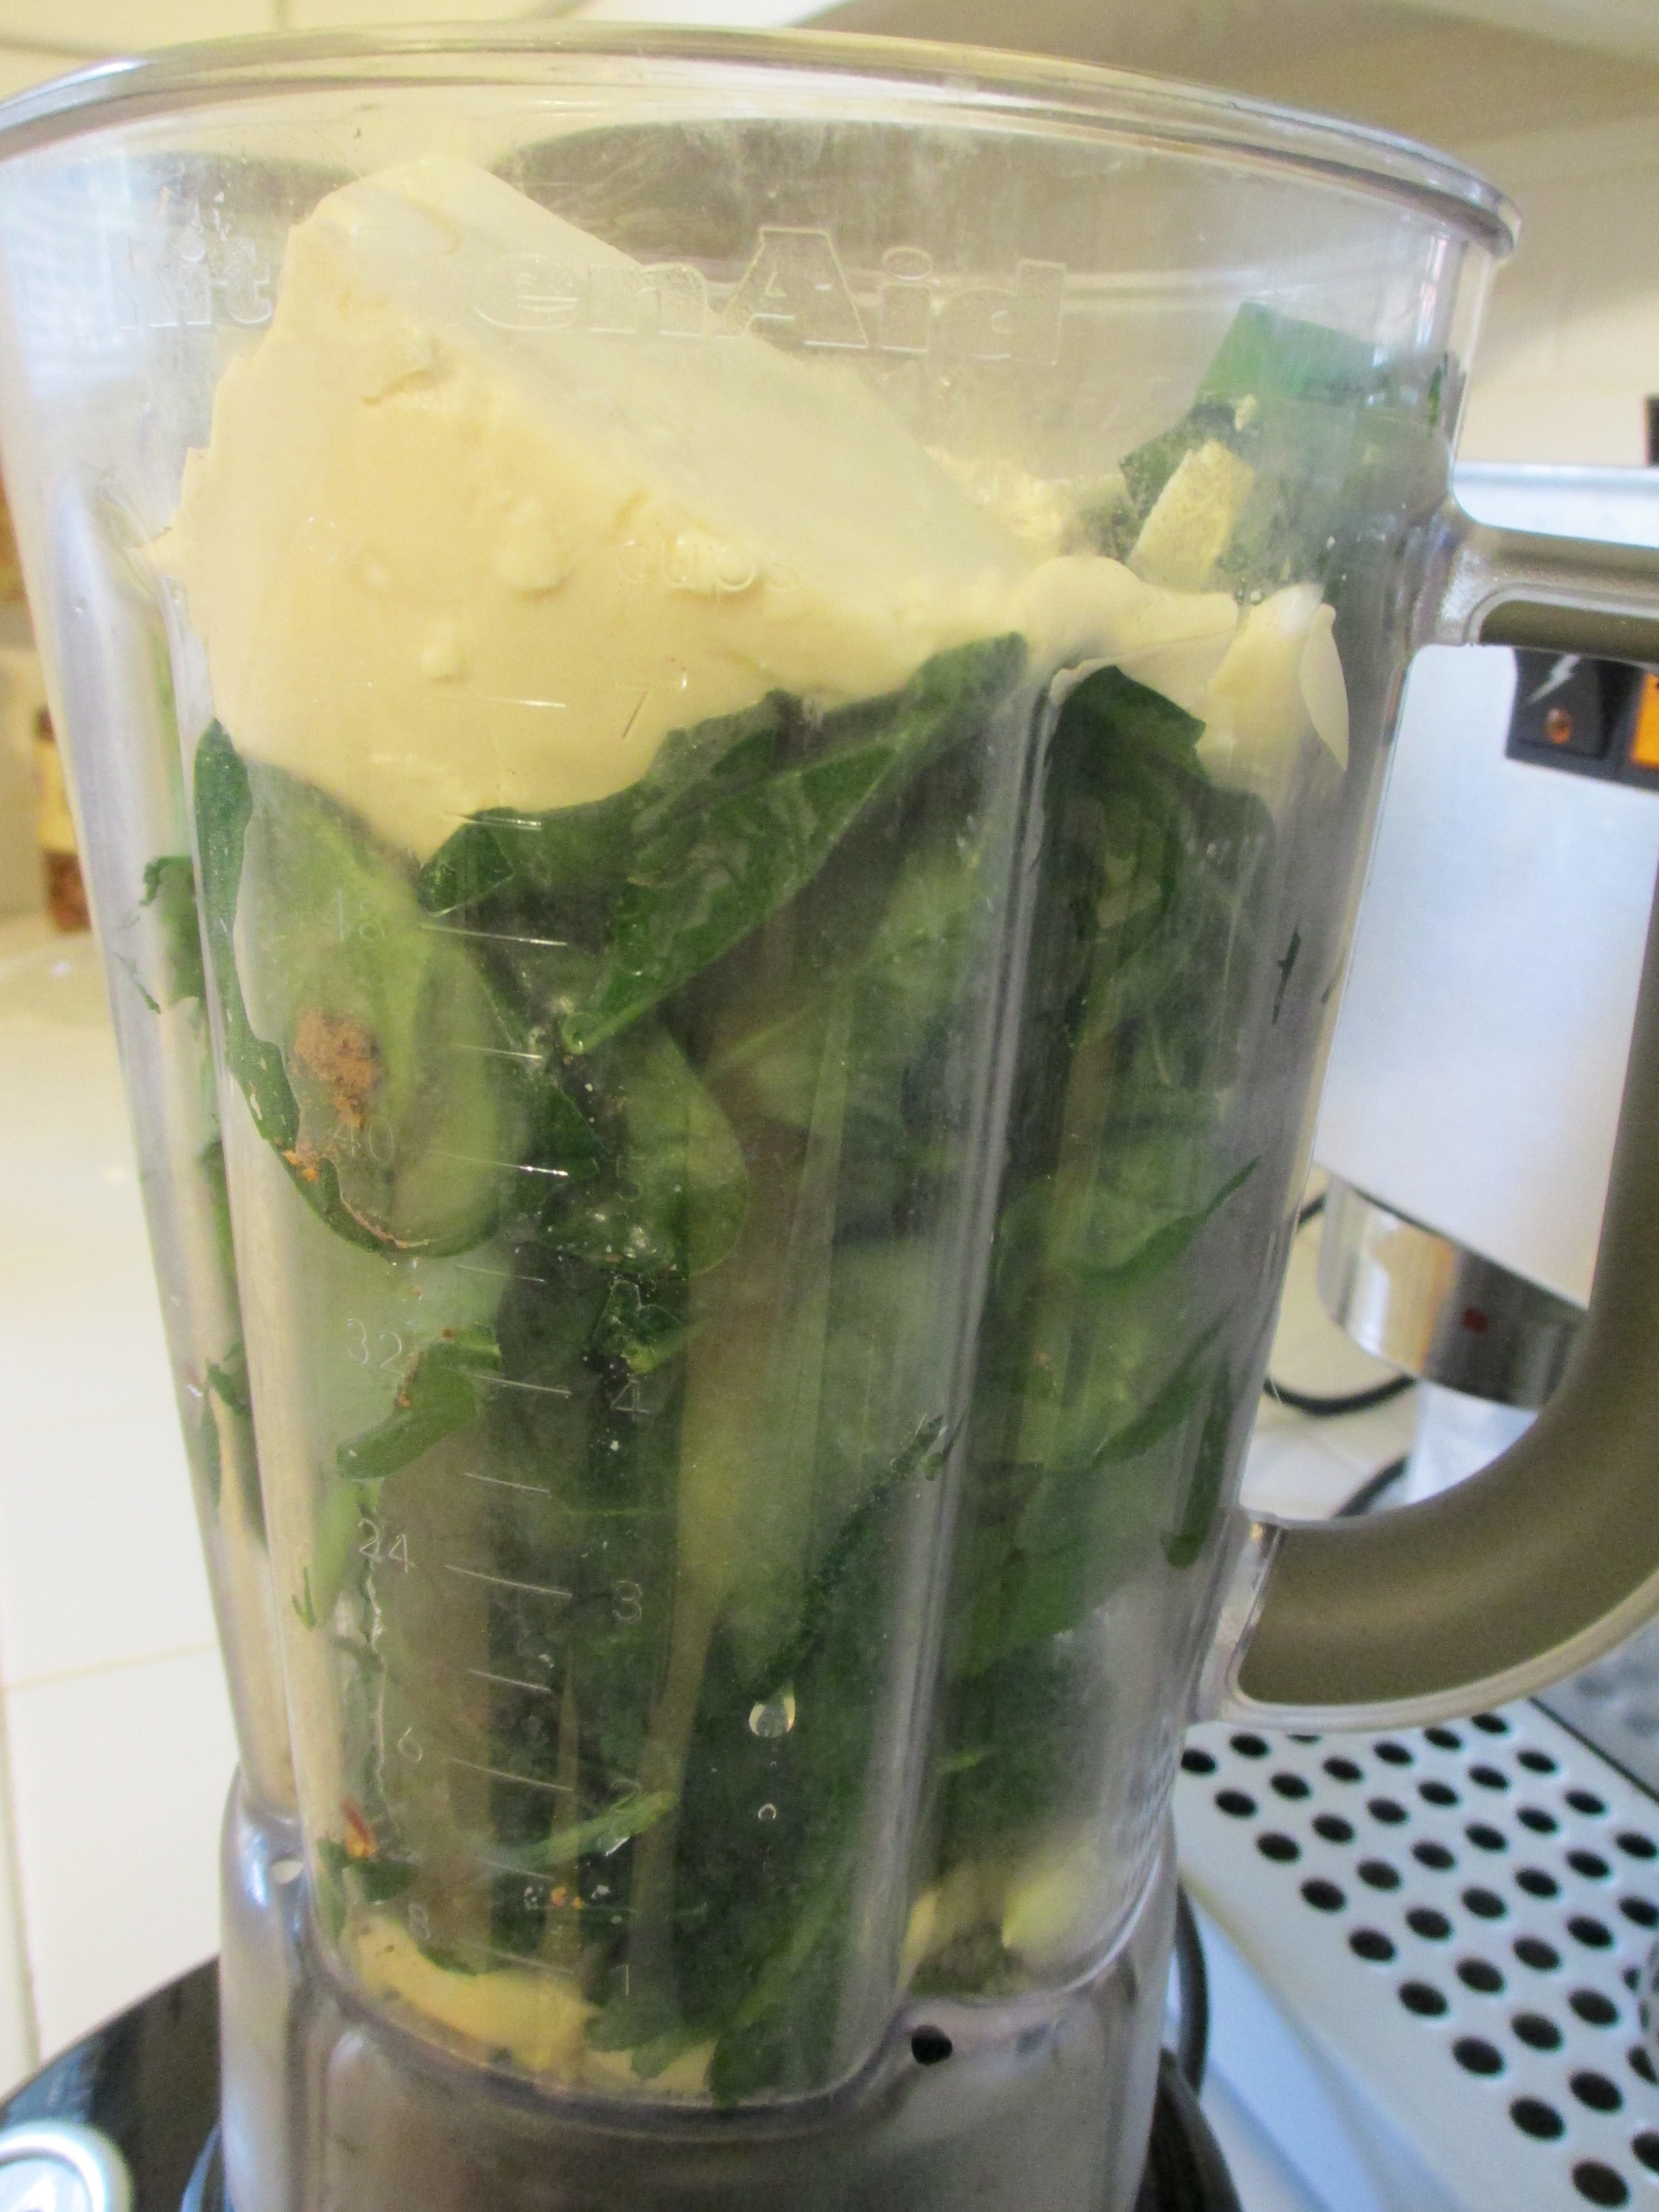
Preheat the oven to 300F/150C. I combine the dry ingredients (except for the yeast in a bowl. Mix them lightly.

IMG_2561

I combine the water (warmed) and dissolve the yeast in it and then put that and the rest of the wet ingredients including the pumpkin in the bowl of my trusty stand mixer and give it a quick mix on the lowest setting. Then I wait for 3-5 minutes until the yeast starts to activate and look bubbly.

IMG_2575

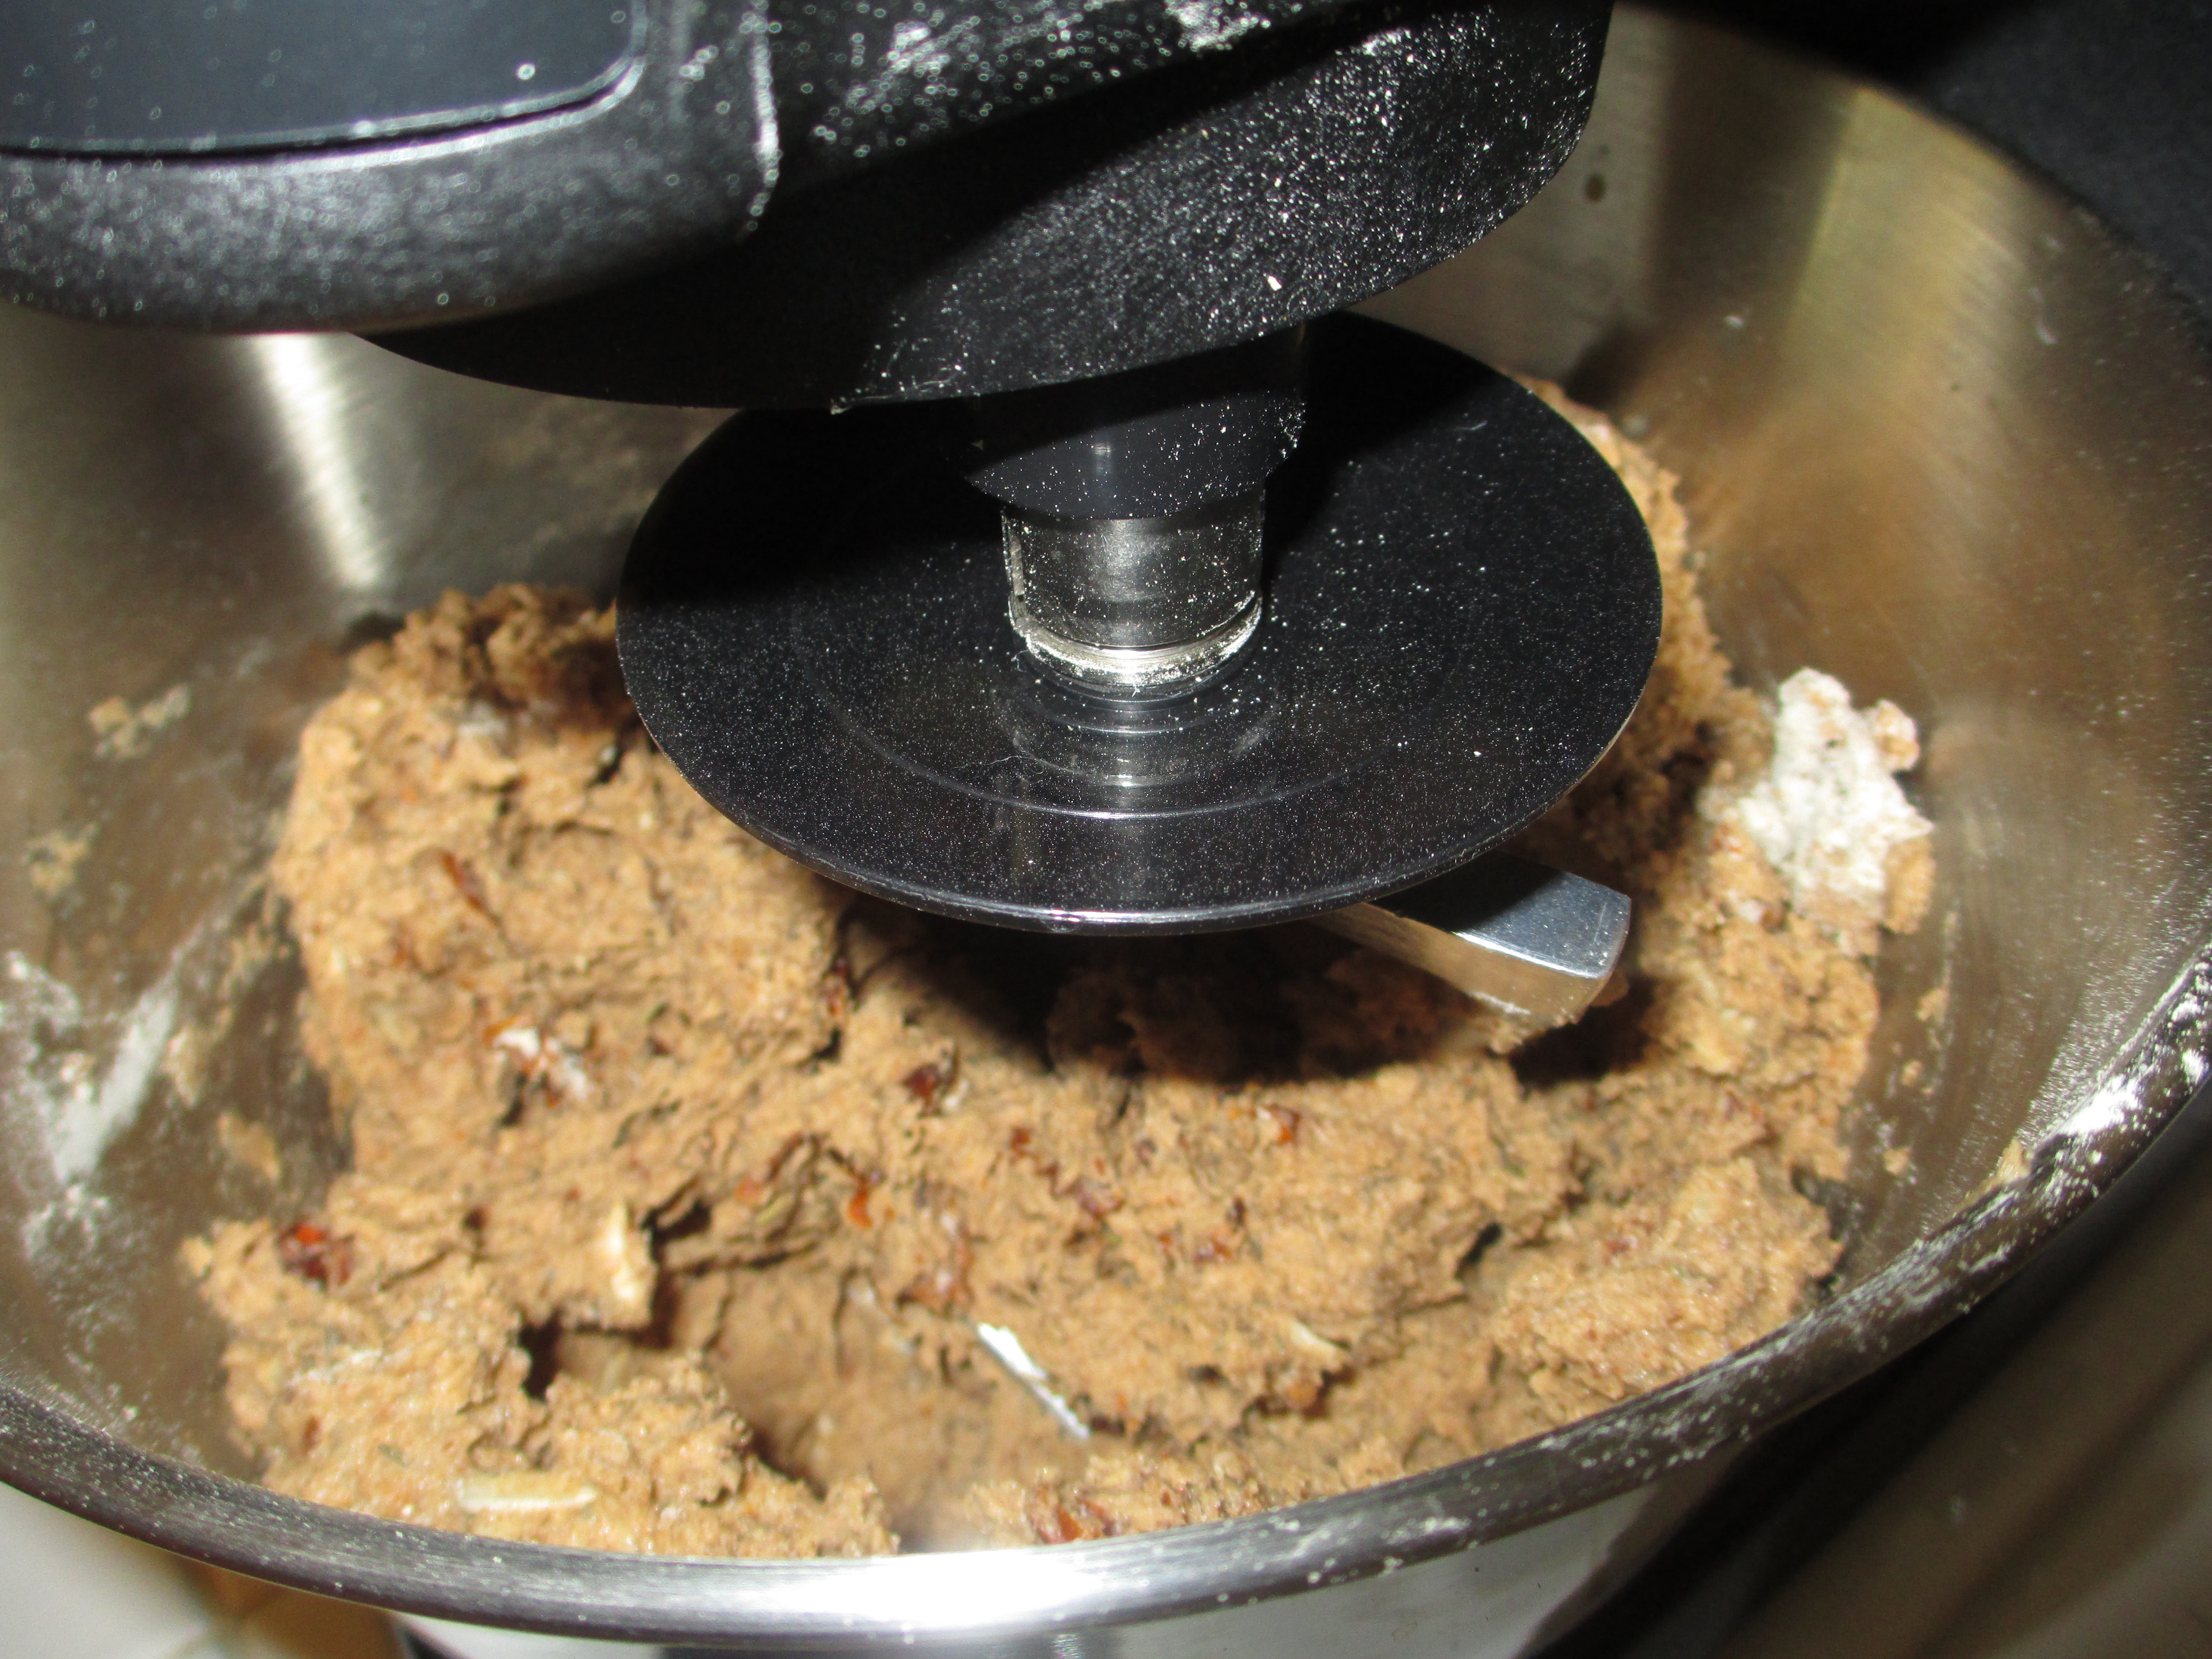
After that I start to add the dry ingredients one cup at a time until it’s all mixed and doughy. It’s usually pretty sticky but holds its form well. I plop that onto a floured baking sheet and quickly mold it into a loaf form. (I haven’t tried any other formation, but you’ll know when I do!)

IMG_2576

I slash the top of the loaf to allow some of the steam to escape. When I tried skipping that step I ended up with a loaf of bread that looks like it exploded in the oven. I baked this for 2 hours and then started checking every 5 minutes to see if it was cooked all the way through by checking to see if a knife inserted into the middle of the loaf came out clean.

IMG_2577

This bread is still a little dense, but the flavor and texture are getting there fast. We’ve been enjoying it for simple things like grilled ‘cheese’ or toast with jam or vegan cream cheese.


This is Christie, signing off!

Tagged , , , , , , , , , , , , , , , , , , , , ,

Spinach Pesto!

Brent and I have been pretty lazy lately and that’s mostly burrito kick since we found gluten-free wraps made from teff. This wasn’t one of those nights.

IMG_2296

All you need is the following in your blender.

1 cube of veggie bouillon

juice from a lemon

1/4 cup of hemp hearts (pine nuts work too but hemp is cheaper and more sustainable)

5-6 cloves of garlic (more if you like it spicy)

1 large bunch of spinach (frozen is fine)

1 tsp flake red pepper

1 tbsp nutritional yeast

1 block of silken tofu (use a cup of dry cashews, soaked overnight if you’ve got a soy allergy)

IMG_2297

BLEND! We served ours with pasta that we tossed with chickpeas, sun dried tomato and porcini mushrooms.

IMG_2301

It was definitely a worth while experiment because it was tasty and loaded with nutrients.

IMG_2302

This is Brent and Christie, signing off!

Tagged , , , , , , , , , , , , , , , , ,

Has everybody gone crackers?

I like to make juice. Like… serious health conscious vegetable juice. If that’s your bag, this post is for you.

Tonight I made some juice from 6 carrots, 1 apple, 1 peeled lemon, one beet and a generous chunk of fresh ginger. In the early days of enjoying my frosty beverages I was thinking of things to do with the leftover pulp.

What’s leftover after you juice the veggies and fruits is a lot of soluble and insoluble fiber and nutrients that didn’t get mooshed out in the juicing. I hate wasting things. It’s partly my inner hippie, my years of farm living, and some personal issues I can’t get into on the internet. Anyways, this is what I use to make my home-made crackers. As far as I know, pretty much any fruits and veggies will do except for cucumber, sorry. Just think about the combo and how it will taste when paired with hummus or whatever. This recipe is for carrot sesame crackers.

Take the pulp and pick out any large chunks. To the pulp, add the following (amounts don’t need to be exact)

1 heaping tbsp tahini (this is where the sesame comes from)

2 heaping tbsp flax meal

a few dashes of tamari or soy sauce (or just regular salt if you’re soy-free)

Moosh it with your hands until you can mold it into a ball that’s at least somewhat doughy. Spread it out into your food dehydrator on one of the plastic sheets intended for fruit leather and such and dry overnight. My dehydrator doesn’t have heat settings or a timer so I can’t be more specific than that. It works, that’s all I know. You can also spread it out on a wax paper lined baking sheet and covered in tin foil. Bake them at 200F/90C for 30-45 minutes, depending on the thickness of the dough. Check it frequently to be sure it doesn’t burn.

The rich color and sweetness comes from the carrots and beets, slightly savory from the soy and nutty from the tahini and flax. You might also get some bite from the ginger! They’re great with home-made hummus, soy or nut cheese, salsa, cheesy bean dip, spinach artichoke dip, guacamole or whatever it is that blows your skirt up.

Here are my finished crackers: low calorie, preservative free, low glycemic index due to no added sugar or processed flour, high flavor and incredibly filling (remember… lots of soluble and insoluble fiber.) You can also customize them adding whatever your heart desires. Pulp from spinach mango juice makes great spinach sun dried tomato crackers: it’s a favorite when mango comes into season here in Florida in the spring. I’ve also been known to make spinach pizza crust. They will keep in a plastic baggie in your fridge for 3-4 days.

This is Christie, signing off… to finish off last night’s hummus with my fresh crackers.

Tagged , , , , , , , , , , , , , , , , , , , , , , , , ,

Beans, beans, the musical, magical fruit! … and hummus.

People often tell me that being vegan is too expensive or they can’t fit it in their budget. Being vegan can be really expensive if you eat a lot of prepared foods but cooking from scratch makes vegan meals cheaper and healthier. I’ve recently been converted to dry beans. These are the reasons why.


1. Dry beans are cheaper. A 1 pound bag of beans costs about as much as 1 can of beans and makes 3-4 cans volume of beans. I pay $0.79-$2.79 for a 1 pound bag and $0.89-$3.19 for a can. Jeepers H Crackers, that’s ridiculous! You can’t even get chicken that cheap. Check out my before (above) and after (below) pictures of some soaked chickpeas.


2. It saves space. A bag of dried beans take up less room in your kitchen than the 3-4 cans of beans you might otherwise purchase. They’re also lighter to carry around and won’t hurt if you drop the bag on your foot or head from a high shelf. (I’m a klutz… don’t judge me.) This is a pound of beans beside a can of beans.


3. It also saves space in landfills and energy costs for transportation. The empty plastic bag from beans versus 3-4 BPA-plastic lined tin cans with paper labels means less energy allocated to transporting and recycling and less space in garbage dumps.
4. There’s WAY more variety in the dried beans section of my supermarket than the canned beans section. I like variety.
5. Dried beans don’t contain preservatives or salt. You can also control what you add to the beans. I use distilled water but only because I’m not sure if my municipality uses hexafluorosilicic acid (an industrial waste derived from the production of aluminum metal and phosphoric acid) to fluoridate local tap water. I’d rather not add diluted industrial waste to my food. Yeah, I’m weird like that.
6. Dried beans taste better and aren’t as mooshy as canned. I find I have to add canned beans last in chili recipes because they fall apart when you stir them. Dried beans are firm enough to stand up to vigorous mixing and haven’t lost their flavor to the liquid they’re canned in.
7. There’s also more control with cooking. If I’m only going to be cooking for a couple of people and still want to use 3 different kinds of beans, that’s all I’ll have to prepare. No opened tins with plastic over them in my fridge potentially waiting to spoil and be wasted. 1 cup of dried beans translates to about 1 can.
8. Dried beans are incredibly easy to prepare. There’s no can opener and no sharp edges on the lid or can for you, your little ones or your family pet (who inevitably will get into your garbage pail…) to cut themselves on. I set them in a bowl in my kitchen sink the night before. I see the bowl when I put my dishes from breakfast in the sink the next morning. I am then reminded to fill the bowl with water, cover it and go to work. When I get home, my beans are ready to start cooking. What I’m saying is. if you can put water into a bowl, you can use dried beans.

So you might be wondering what I’m going to do with that HUGE bowl of chickpeas. This post is really about hummus. All you need is the following:
1 cup of dry chickpeas, soaked OR 1 can of drained chickpeas (save some of the liquid from soaking or the can)
juice from 1 lemon
3-8 garlic cloves
1 heaping tbsp tahini (optional but recommended)

I’m adding a generous handful of fresh basil and sundried tomato… for fun. You can add anything: roasted red peppers, olives, artichoke hearts, cucumber and dill… whatever.

Put it all in your blender or food processor and blend until you like the texture. If you need more liquid, add some of the liquor from the soaking or from the can. Voila! Hummus. I sprinkle mine with some smoked paprika powder and ate it with my own sesame ginger carrot crackers. Yeah, I make my own crackers.  Wanna learn how to make those too?  Some day… some day.

I wish you could taste how delicious this hummus is. The spicy basil and garlic are amazing with the mellow sundried tomato on the backdrop of creamy chickpeas and tahini. Let me know what combo you dream up for hummus and tell me how you like it. I want to make MOAR!

This is Christie, signing off.

Tagged , , , , , , , , , , , , , , , , , , , , , , ,

Raw Manicotti: Effing Delicious!

Melissa has set me on a raw bonanza! If you want to be really simplistic, you could call raw food “complicated salad”. Considering how little time it takes to make a salad… this should be appealing to busy people. Complicated salads only take a little longer than simple salads. It’s also a great alternative to the same boring salad you’ve been trying to eat meal after meal in order to avoid getting new pants after all those rich holiday meals. I love shopping but I’d rather spend my money on farmer’s market veggies than pants.
Start out with 2 medium zucchini. These are your “noodles”. For the noodles, cut off both ends of each zucchini. Slice the zucchini the long way so that you have long, wide noodles. Use a knife, cutting as thinly as possible and be really careful. Set them aside. Now it’s time for the creamy filling.  You’ll need the following ingredients:
1 block of Mori-Nu silken tofu
1/4 cup lemon juice
3 cloves of garlic
1/2 teaspoon salt
2 tsp tablespoons Italian seasoning
4 cups spinach

Combine all the ingredients except for the spinach in a food processor or blender. Blend until smooth. Scrape into a large bowl. If you want to be extra raw or soy free, substitute a cup and a half of soaked cashews for the tofu. Chop the spinach finely by hand and set it aside.

Now it’s time for the tomato topping. You’ll need to get all of these ingredients.
1 cup of sun-dried tomatoes (pre-soaked or not, just you’ll need more water for the latter)
1/4 cup water
1 medium tomato, chopped
3 cloves of garlic
1 handfull of fresh basil
salt to taste
Combine the ingredients in the food processor and blend until slightly coarse.

To assemble the manicotti, arrange 3 or 4 zucchini strips on a cutting board, slightly overlapping one over the next by about 1/2 inch as in the photograph. Add a handful of chopped spinach, as shown. If you’re feeling less adventurous, layer the ingredients to make “lasagna” instead.

Place 1/4 cup of the creamy filling in the center and spread about an inch thick. Add some more spinach.

Roll the zucchini up to make “manicotti”. Place two manicotti on a plate and top with a few tablespoons of the tomato sauce. Garnish with a sprinkling of raw parmesan and/or chopped basil. I also sliced up some black olives. I love olives.

This is Christie, signing off… food coma.

Tagged , , , , , , , , , , ,
%d bloggers like this: