Tag Archives: vegetarian

Easy Veggie Paella

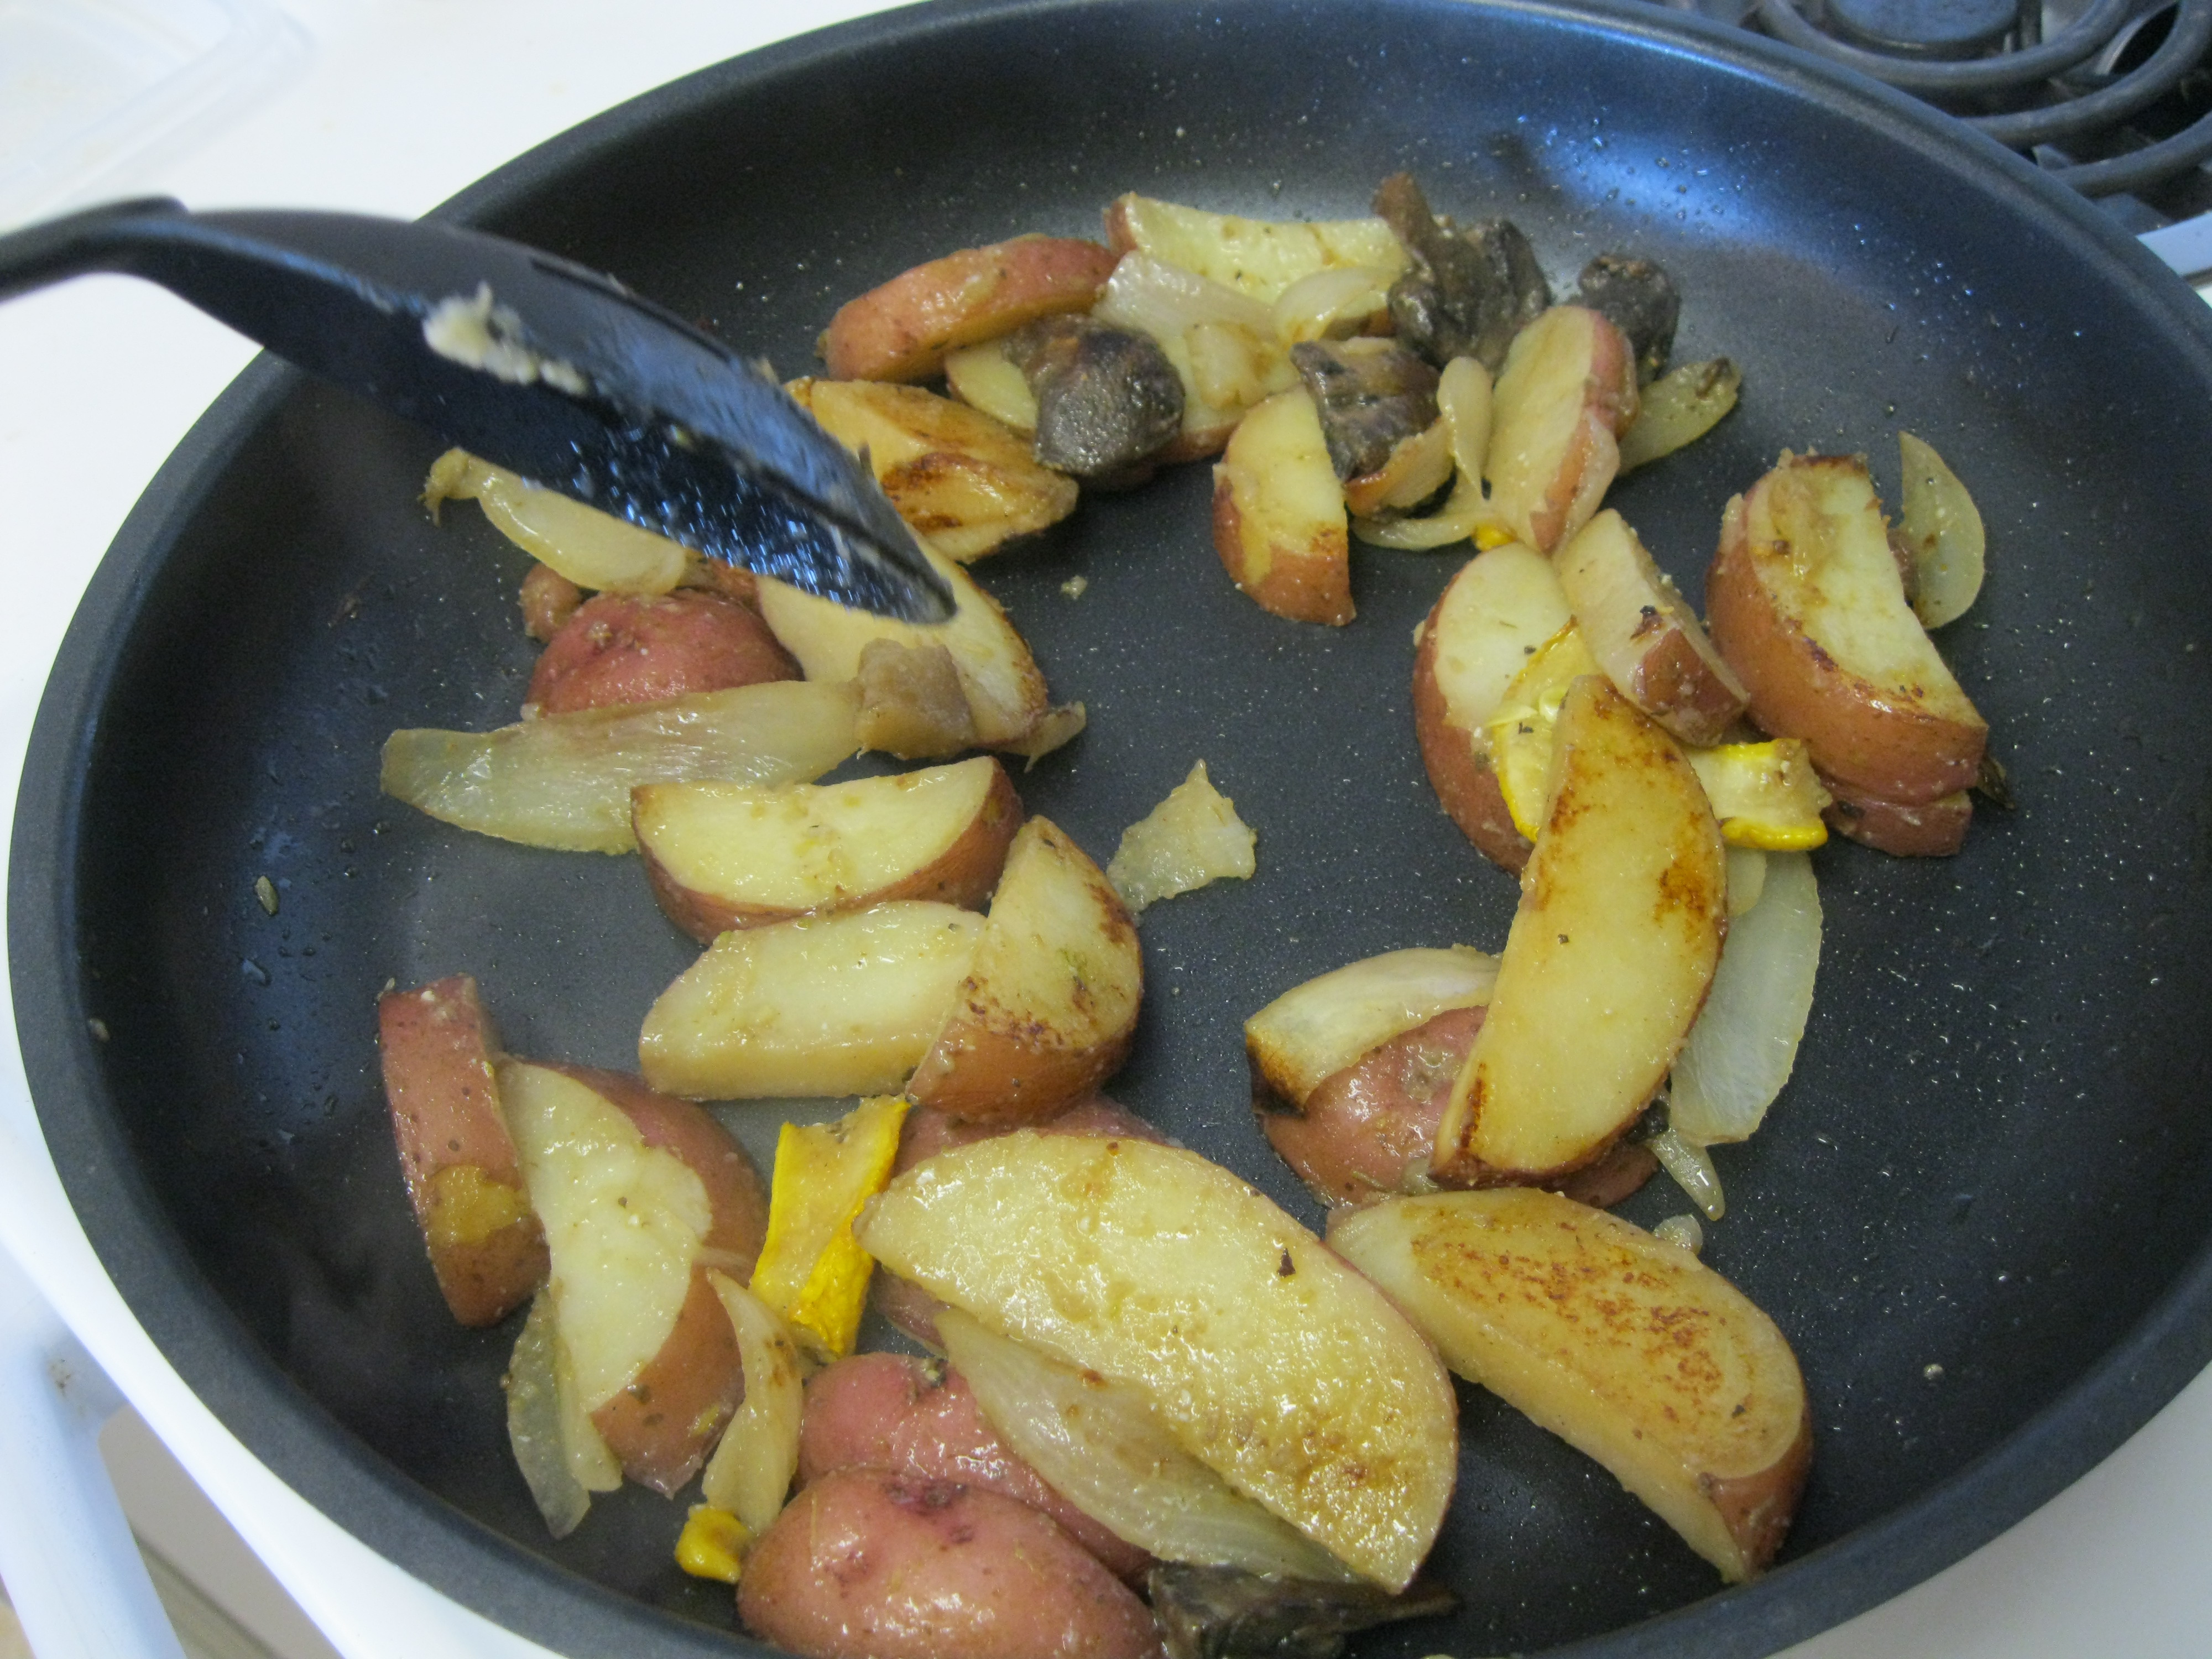
To an omnivore, this is vegetable rice. To a vegan, this is paella. I’m using olives in this recipe as my interpretation of mussels: they’re black (who really cares about mussels… I love the color contrast) and have to be pitted before you can eat them just like you have to shell a mussel… kind of. The Brussels sprouts are just there for fun and tofu makes a nice addition if you’re feeling like it. I would marinade it in lemon juice and cumin with a touch of syrup but we decided on skipping the tofu tonight. We started with the following.
6-10 Brussels sprouts (quartered)
1 cup of dry white wine
3 tbsp of olive oil
1/2 cup black olives
1/4 white onion, diced
4 cloves of garlic, minced
1 red bell pepper, cut into strips
1/4 lbs of peas
Sweet paprika
1 1/2 cups of long grain
1/4 teaspoon of saffron
1 1/2 liters of vegetable stock (from bouillon cubes is fine)
2 tablespoons of minced parsley
I would start by mixing the saffron into the broth and bring it to a boil. In our kitchen, cooking rice and pasta is Brent’s job. He’s much more patient than I am and makes lovely rice and pasta. I stir it too much and end up with a mooshy sticky mess. Add the rice and stir once. Lower the heat and let it boil without stirring. While this was happening, there’s plenty of time for chopping up the veggies and cooking them. Now that the rice is cooking, on to the veggies!
Warm the wine and olive oil with the parsley, paprika, onion and garlic at low heat. Let them simmer until the onion starts to become translucent and then add the peas, olives and bell pepper. When that’s simmered for about 5-8 minutes and the bell peppers are starting to get soft, add the sprouts and toss lightly until they’re just past the bright green stage.
When the top of the rice starts to dry, plop the veggies onto the rice (except for a handful of Brussels sprouts if you want something really pretty). Let them cook for other 10 minutes. Stir the veggies under the rice, using a spatula. Arrange the sprouts on top.
Note on ingredients: the “peas” we added weren’t peas at all. I bought them at my farmer’s market and asked when I paid for them what they were. The guy told me “peas” but they are definitely broad beans. They’re a fine substitute for peas but next time I’ll use the real thing.
EAT IT! This is a fast delicious healthy meal that is sure to please. It’s also got a stunning mix of colors that’s sure to impress whether you fuss over it and arrange the veggies or not.
This is Christie and Brent, signing off.
Tagged , , , , , , , , , , , , , , , , , , ,

Pakora: chickpea fritters… basically.

Brent and I decided to try and recreate another of our favorite take-out dishes last night. This one was not quite as successful as our <a href=”https://turningveganese.com/2012/03/20/tofu-mahkani-quick-and-easy/”>previous endeavors</a> but we learned a lot so it’s okay. We were interested in making pakora so with some inspiration from <a href=”http://ellesite.wordpress.com/2012/03/20/guilt-free-pakora-vegan-indian-food-made-healthy/>Elle’s Diary</a> we decided to craft our own and bake them instead of traditional frying.

First I shredded 5 medium carrots and a large zucchini in my food processor. I added the folloring:
2 cups chickpea flour
2 tbsp nutritional yeast
1 tsp ground coriander
1 tsp gram masala blended spices
1/4 tsp turmeric powder
1 tsp chili powder
1/2 tsp salt
1 tbsp olive oil
1 tbsp Earth Balance vegan butter
soy milk

We mixed it together with the shredded veggies and added soy milk until the texture was like a thick batter. I spooned them onto a wax paper lined baking sheet. We baked them at 350C/180F until they began to brown at the edges and were firm to the touch, about 35 minutes.

While we were waiting, my handsome partner in criminally fun cooking prepared two sauces for dipping: mint chutney and tamarind. For the tamarind he combined:
maple syrup
thawed frozen tamarind
chili paste

For the mint chutney, he put the following in the food processor:

1 bunch fresh cilantro
1 1/2 cups fresh mint leaves
1 jalapeño pepper
1/2 teaspoon salt
1 medium onion, cut into chunks
1 tablespoon lemon juice
1/4 cup water, or as needed
 
The dipping sauces were an enormous success. The pakora on the other hand, needed some work. I think the next time we make this dish we’ll add a shredded onion and maybe a potato or eggplant to the veggie mix. We’ll also add a little baking soda and use a cast iron skillet to bake them since sticking to the wax paper lined baking sheet was a problem. The flavors, however, were good and this high protein addition to a traditional Indian meal will be welcome even before we work out the kinks. We’ll be revisiting this particular awesome dish again and we’ll keep you posted.
This is Brent and Christie, signing off!
Tagged , , , , , , , , , , , , , ,

Easy Enchilada Casserole is on a ROLL!

This is an easy thrown-together, fun to play around with variations on favorite in the Alldestroyers household. It’s basically decadent layers of cheese, beans, tomatoes, peppers and whatever else your heart desires baked up to bubbly perfection. Brent and I decided to start with 2 different kinds of beans: black and kidney.

We decided to make this a 2 layer casserole: cilantro lime black beans and soysausage chipotle red beans. It was that simple.

In the glass baking dish we made 2 layers of tortillas with a layer of Daiya in between to make serving easier.

We cooked the 1 cup of black beans (soaked overnight in 3 cups of water, we kept the water for this step) adding 1 minced jalapeño, juice from 1 lime, a splash of tequila and a handful of cilantro leaves.

The red beans got a similar treatment with a can of chipotle peppers in adobo sauce, a minced soysausage and that’s all she wrote. She being me, I’ll let you in on a secret… I’m going to write some more. We simmered the beans until they were mostly dry and then it was time.

We assembled the casserole by pouring the beans into the first layer of tortillas, pouring some enchilada sauce over it. You can make your own or buy it. We were feeling lazy after being all industrious with the beans so we bought cans of sauce. We poured the next layer of beans, the rest of the sauce and smothered it with more Daiya.

Thirty minutes and 350C/180F later the saucy adultery of the casserole began.

This is a great family friendly meal. We hope you get to try it and love it as much as we do… and the leftovers. I love leftovers.

This is Christie and Brent, signing off!

Tagged , , , , , , , , , , , ,

Roasted Cauliflower

If you’re a fan of Top Chef and/or live in Chicago, chances are high that you know who Stephanie Izard is. I had the pleasure of dining at her very much non-vegan restaurant Girl and the Goat several months ago. All the dishes, meaty or otherwise, were very delicious and satisfying, but it was the Roasted Cauliflower that I loved the most. Fortunately, the recipe is actually posted online. Unfortunately, it is vegan un-friendly. So, I turned it veganese, using ingredients I had on hand.

Roasted Cauliflower
4 cups sliced cauliflower
olive oil
2 tbsp water
1 tsp crunch ‘butter’ (I used a hell of a lot more than 1 tsp… oops)
2 tbsp Parma Vegan Cheese, original
1 tsp capers, drained (optional)

Crunch ‘Butter’
4 oz softened vegan butter
1 garlic clove, grated or minced
2 tbsp Parma Vegan Cheese, original
2 tbsp bread crumbs

I heated up the oil in a pan and then added the cauliflower. I sauteed the cauliflower on all sides and then added some salt. Then, I added the water and let the cauliflower continue to cook.

When the cauliflower was cooked, I added a generous amount of the crunch butter. I didn’t do this on purpose. I just didn’t read the recipe very well. I don’t feel as gross as I would if I had used regular instead of vegan butter, but I still feel kind of barfy. Only use a teaspoon!

Stephanie’s recipe calls for pickled peppers. I didn’t have any, so I substituted with some capers. Then, I turned off the heat and mixed in some Parma.

This dish was delicious! I went way overboard with the butter, but I can easily mix in more vegetables for a better balance. I’m really glad that I was easily able to veganize this dish. Be sure to read Stephanie’s recipe first; you might have different ideas for veganizing the dish. She also adds pine nuts and mint to hers, which I would have done if I had them!

Here’s to cauliflower aka ‘little white trees!’  —Melissa

Tagged , , , , , , , , , ,

Cooking Challenge: Aftermath

This particular marvel is the transportation of a Melissa-style cooking challenge into breakfast: omnivores team made corned beef and cabbage and the vegan team made corn, beans and cabbage.There wasn’t enough corn, beans and cabbage to reheat and just make leftovers so we decided to make it into a tofu scramble instead. Image

I’m a sucker for runny eggs… or silken tofu in my tofu scramble. We included all of the typical seasonings in our tofu scramble: nutritional yeast, salt, pepper, nutmeg and turmeric powder. The beans and corn were already seasoned with coriander and a few others and it ended up making the breakfast awesome.

Image

We also browned some potatoes, squash and mushrooms that were leftover too. There’s a real reason why I’m posting this particular brunch. There was something easy about meat: you could put it into just about anything. You could put it on sandwiches, into a soup, with eggs, whatever… I don’t want anyone to think that vegan food doesn’t have that same kind of versatility – it definitely does.

Image

You don’t even have to be that creative. We used to call eggs with whatever you had for dinner the night before thrown in “trash can eggs” because that was the only other logical place for the leftovers. Personally I opt for stomach in this particular case.

This is Christie and Brent, signing off!

Tagged , , , , , , , , , , , , , , , , ,

Pakbet (AKA Bitter Melon MADNESS!)

I got the recommendation for pinakbet or pakbet from a Sri Lankan colleague who has a fondness for Filipino cuisine. It’s good she’s around or I would have been at a loss for what to do with this ridiculous looking veggie. For pakbet I took some crucial advice from Melissa and my colleague on the preparation. I sliced up the melon, discarded the seeds and salted it and waited for about 20 minutes. There was a lot of liquid that came out of the flesh so I figure it worked… right?

I also assembled the following:
1 eggplant cut into bite-sized pieces
salt
10 whole okra, trimmed
1/2 lb green beans, ends trimmed
1 big toe sized piece of ginger, sliced
3 cloves garlic, sliced
1 medium onion, diced
3 medium tomatoes, diced
2 tsp tamari
1 tbsp miso paste
olive oil
salt to taste
I browned the garlic and onion in olive oil. Then I added the tomatoes and cook until soft and then the remaining ingredients.

I cooked the bitter melon separately, sauteing lightly in olive oil with tamari because Brent is allergic to quinine and I don’t want to kill him even though the literature regarding the quinine content of bitter melon is sketchy.

I didn’t cook it long after adding the rest of the ingredients just because I like my veggies crisp and green. I’m weird like that. I added it to mine and found that the sweetness of the beans and onion along with the mellowing tomato and eggplant really complemented the bitterness of the bitter melon. Next time I’ll use white miso paste instead of red and omit the ginger, but otherwise Brent seemed happy with the bitter melon-less version and I’ll be doing this again… just don’t tell Brent.


This is Christie, singing off!

Tagged , , , , , , , , , ,

Tofu Makhani Quick and Easy

The man and I are always trying to reproduce take-out favorites at home. A few weeks ago I became obsessed with creating a truly vegan, gluten-free version of veggies makhani which we periodically order from a beloved Indian restaurant. “Makhani” means butter in Hindustani and though a lot of restaurants make it with olive oil as a cheap alternative to ghee, I still worry my special request for olive oil won’t be met. This version isn’t stereotypical Indian food but rather an Americanized version of the Indian classics but that shouldn’t stop you from giving this a try. We made ours with traditional herbs and spices, peas and tofu instead of paneer. Paneer is a traditional home-made Indian cheese often used in this dish. Tofu is a great vegan substitute. Other veggies that would be appropriate include bell peppers, cauliflower, broccoli, and potatoes. I started with the following:
1 carton of firm Chinese style water packed tofu, cut into bite sized pieces
1 lb bag of frozen peas

Before you do anything, set these aside to drain and thaw respectively. I like to marinade my tofu in lemon juice for 30 minutes or so with a dash of ground coriander. I finish it by heating the tofu lightly in the pan I’ll eventually add my sauce to and pouring off any excess liquid.
1 tsp oil
1 generous pinch of cinnamon
1 tbsp cumin seeds
1 tsp fenugreek seeds (optional, but recommended)
3 cloves of garlic, sliced
1 thumb sized piece of ginger, sliced (more if you like spice)
1 small onion, chopped
1 large tomato, chopped
6 oz. tomato paste
1/2 pinkie sized piece of turmeric, sliced OR 1/2 tsp dried turmeric
1/2 tsp red chilli powder
2 tsp syrup (any kind will do)
2 cups vegetable stock (use water if you need more)
1/2 cup cashew nuts (soaked is good)
1 tbsp vegan “butter”
1 tbsp lemon juice
salt and chili paste to taste
Fresh green coriander/cilantro for garnish

Heat the oil in a saucepan. Add the cumin and fenugreek seeds, and when they sputter add the cinnamon. Add the ginger and turmeric and stir for a minute or so over medium-high heat. Add the onions, “butter” and a little salt and saute until the onions start to brown, about five minutes. Add the tomatoes, cashew nuts and chilli powder. Saute the mixture until the tomatoes soften. If the mixture starts to get too dry before the tomatoes are done, add some water or vegetable stock and continue cooking. Once the tomatoes are really soft, turn off the heat and let the mixture cool. Pour into a blender along with the lemon, syrup, and tomato paste, using some broth to get all the paste out of the can. An extra tablespoon of cashew butter won’t hurt but we’re trying to keep this light. Blend to a smooth paste adding veggie stock, syrup, salt, and chili paste as necessary.

I don’t recommend blending the mixture while it’s still hot because it can be dangerous. If you have a hand blender, this is the time to use it. Pour the blended paste back into the saucepan with your tofu, turn on the heat, add the remaining vegetable stock if the mixture is particularly thick. Now add the peas and any other veggies you like and stir them in. Let the mixture heat until it’s steamy. Garnish with coriander leaves, and serve hot with some rice, or a suitable substitute.

We used quinoa that we prepared by microwaving at 2 minute intervals. We also added some cardamom pods because they bring out the nutty smells and flavors in quinoa with their lemony aroma.

I just wish I could take a picture of the flavor for you: this is comfort food, pure and simple. I hope you get to enjoy some!

This is Christie and Brent, signing off!

Tagged , , , , , , , , , , , , , ,

Coconut Lemon Custard PIE!

I got some Meyer lemons at our local market. Is there anything these crazy Floridians won’t grow?
Image
Anyways, Meyer lemons look like lemon colored oranges and tastes like a lemon would if it wasn’t acidic… at all. They’re mildly fragrant and delicious. I decided to make them into a lemon coconut pie. This is what I started with:
6 Meyer lemons
1 1/2 cup of shredded coconut (unsweetened)
4 tbsp coconut sugar
1/3 cup of cashews
1 box of silken tofu
1 tsp vanilla extract
1 tsp coconut extract (optional, if you don’t have coconut sugar)
1 tsp of arrowroot starch
1 tsp of vegetable gelatin
1 pinch of salt
I combined the lemon juice (be careful to exclude seeds and any rind from the mix as it will make the pie bitter… like mine was /sadface) tofu, half the coconut, cashews, vanilla extract, sugar, starch, gelatin and salt.
Image
I blended them until they were smooth and then poured them into a saucepan and heated it to marry the flavors. While I did this, I adjusted the seasonings. After it was steamy and warm, I poured the mixture into a springform pan over a crust in the style of Melissa’s previous raw cheesecake experiments  using another 1/2 cup of coconut in addition to the nuts and dates.
Image
I sprinkled the remaining coconut over the top and put it in the freezer for about 20 minutes and them moved it to the refrigerator. The texture was light and smooth.
Image
I did get a little too much of the rind from the lemons into the custard and it made the end product slightly bitter but it didn’t stop us from devouring most of it.
Image
The coconut and lemon were complimented beautifully by Melissa’s date crust. WIN!
This is Christie, signing off!
Tagged , , , , , , , , , ,

Vegan Longanisa

You’re either thinking, “Say what?! Vegan longanisa?!” or “WTF is longanisa?” after seeing the title of this post. Longanisa is a garlicky Filipino sausage made traditionally with pork. Some people liken it to chorizo. It’s eaten for breakfast, lunch, dinner, or midnight snack and usually served with sinangag (garlicky fried rice) and fried eggs. For me, longanisa is kind of like an equivalent of frozen pizza. We usually had some in the freezer and could cook them up when we wanted something easy and delicious to eat. A lot of Filipino restaurants offer longanisa for breakfast. Uncle Mike’s in Chicago is one of them:

Photo from LTH Forum

Longanisa is one of the things I knew I would miss after going vegan. It’s not just the taste of it. It’s like this connection to my culture, something I can mention to any Filipino person that will instantly bond us. We didn’t have it often growing up which is a good thing when you consider how fatty it is. Longanisa is like the frozen Ramen noodle for Filipino-American kids when they move out of the house and want something that reminds them of home. So, yes. I miss longanisa, and I had accepted the fact that I would probably never eat it again. But then, I decided to try and veganize it.

Ingredients:
14 oz Gimme Lean Beef Style Veggie Protein
1/2 head minced garlic — came out to about 1/3 cup
2 tsp ground black pepper
2 tsp sea salt
4 tbsp brown sugar
1/4 cup apple cider vinegar
safflower or olive oil, for frying
The following are optional:
2 tbsp flax meal
1-2 tsp annatto powder (to give the sausages a red color; I did not add this)

First, I minced the garlic and then tossed it in with the ‘meat.’ I set it aside and then mixed together the dry ingredients in a small bowl. I added it to the ‘meat’ mixture along with the vinegar. Then I mooshed it all together.

I formed the ‘meat’ into small sausages (about the length of your average breakfast link but with more girth… heeeheh… girth). I ended up with 16 sausages. I put them in the fridge to chill. I won’t comment on how they kind of look like poo. Oh, oops. I just did. Hmm… maybe the whole purpose of adding annatto powder is to make it look less like poo.

Traditional longanisa recipes call for the meat to sit in the fridge for at least one hour, preferably for over 24 hours. I couldn’t wait so I took some out after about 2.5 hours and fried them up in safflower oil over medium heat for about 10 minutes, turning every 2-3 minutes.

I made some sinangag and a salad of tomato, onion, and cilantro to accompany my longanisa. I have always felt like being Filipino and loving Filipino food would make going vegan an impossible challenge. I’m glad to have proven myself wrong yet again. Is the recipe exactly like traditional longanisa? No. But it’s a great substitute that I know I’ll improve on with every try. As a bonus, it has ZERO cholesterol. Who wants all that pork fat anyway? Gross!

Kain tayo! That means “let’s eat!” …. Melissa

Tagged , , , , , , , , , ,

Fruity Popsicles!

I love good food. In order to keep fitting into my same pants, I also exercise regularly. Those of you who have a rigorous work out routine, might have noticed that you can find yourself ravenously hungry within the hour after a strenuous exercise session. Fortunately most of my vigorous activities occur between the end of my work day and dinner so I’m mostly safe there but when I get home from the gym and have to wait to eat I like to have a snack that won’t spoil my appetite for something else nutritious later or ruin all of my hard work with empty calories. Notice, our hero has found a solution!
Image
A good 6 popsicle mold costs $10-15 at your local home goods store and is a great way to create such a snack. I just get whatever fruit is in season, slice it if necessary (or even puree it in the blender), pop it into the mold and fill it up the empty spaces with coconut water (something that <a href=”http://nevadagirls.wordpress.com/2012/03/15/im-throwing-my-hat-in-the-air-whos-that-girl/>NevadaGirl</a&gt; also champions as a delicious post workout hydrator).I don’t endorse any particular brand. I just look for the best bang for my buck.
Image
This style of popsicle will replenish some electrolytes, a little sugar, give you a little fiber and some vitamins to help you recover from your exercise session in the form of a cool refreshing snack. The combinations are endless so you’ll never get bored.
Image
Blueberries and kiwi is my favorite, but mixed berries and lime mango are close second place winners. If you want a protein pop, use soy milk instead of coconut water (in your blender with carob or chocolate powder if you’re so inclined).
Image
Chocolate blueberry, banana, or cherry pops are irresistible as far as I’m concerned. Heck, how about all three? Have a happy work out, folks!
This is Christie and Brent, signing off.
Tagged , , , , , , , ,